Laravel - Setup Breeze Package

Mohamad's interest is in Programming (Mobile, Web, Database and Machine Learning). He is studying at the Center For Artificial Intelligence Technology (CAIT), Universiti Kebangsaan Malaysia (UKM).
[0] Prep
Continue from previous article or download quickstart file.
[1] Get Breeze Package
This exercise is based on Laravel Release version 10.3.2.
We will be using Breeze version 1.28.0
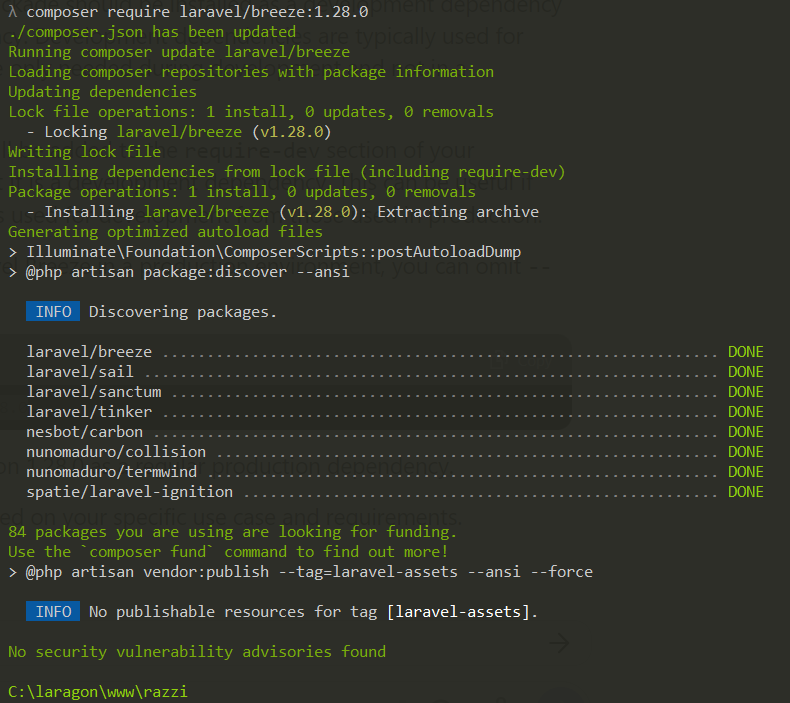
composer require laravel/breeze:1.28.0
Output:
Note:
If you need Breeze only for development, append dev at the end of the command:
composer require laravel/breeze:1.28.0 --dev
Adding --dev indicates that the package should be installed as a development dependency rather than a production dependency. Development dependencies are typically used for tools, libraries, or packages that are only needed during development and not in a production environment.
By including --dev, the package will be added to the require-dev section of your composer.json file, indicating that it is a development dependency. This can be useful if you want to separate dependencies used for development from those used in production.
However, if you intend to use Laravel Breeze in a production environment, you can omit --dev from the command
[2] Install Breeze
php artisan breeze:install
Output 1:
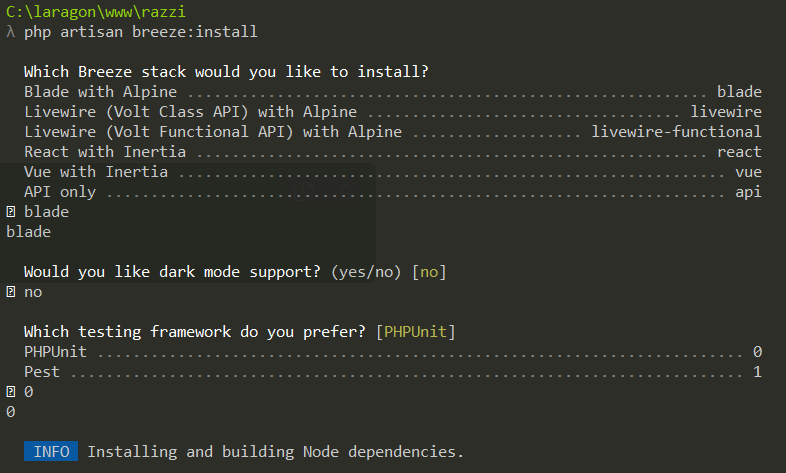
You will be required to specify some settings (refer the above screenshot):
stack=blade
dark mode=no
testing framework=0(PHPUnit)
Output 2:
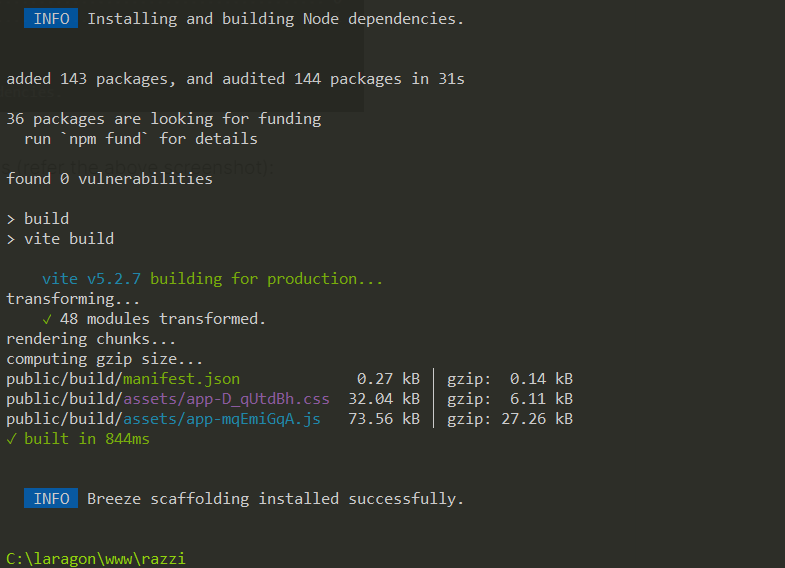
Notice that the process has created css and js files in the public/build folder.
To ensure that all front end codes are set in place, run npm-related commands:
npm install
npm run dev
This Laravel+Breeze version is using Vite. By integrating Vite into your Laravel project, you can take advantage of its fast development server and near-instantaneous hot module replacement (HMR). This allows you to see immediate updates in the browser as you make changes to your frontend code, without the need for full page reloads. It significantly speeds up the development process and improves productivity. Read https://vitejs.dev/guide/why.html.
File C:\laragon\www\razzi\vite.config.js :
import { defineConfig } from 'vite';
import laravel from 'laravel-vite-plugin';

export default defineConfig({
    plugins: [
        laravel({
            input: [
                'resources/css/app.css',
                'resources/js/app.js',
            ],
            refresh: true,
        }),
    ],
});
[3] Run Database Migrations
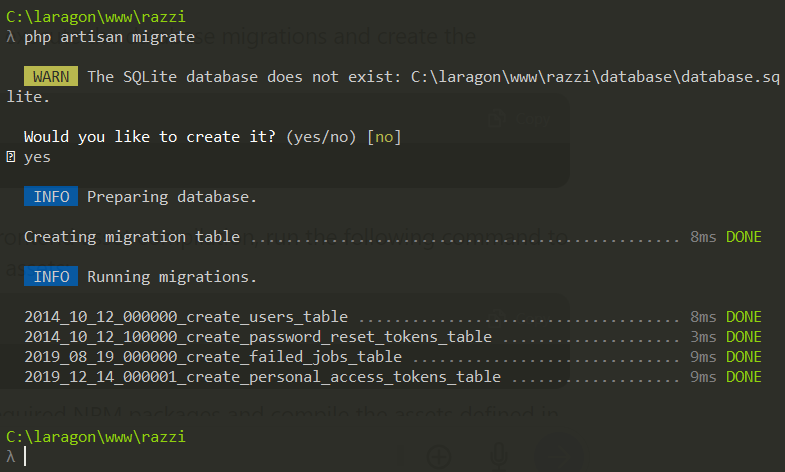
php artisan migrate
Output:
(answer yes when Artisan request your confirmation to create sqlite database, which has been set in the previous tutorial)
If you browse the start page, you shall see the register and login links.
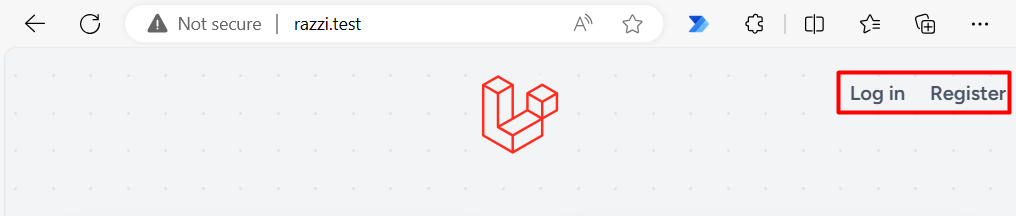
Register page:

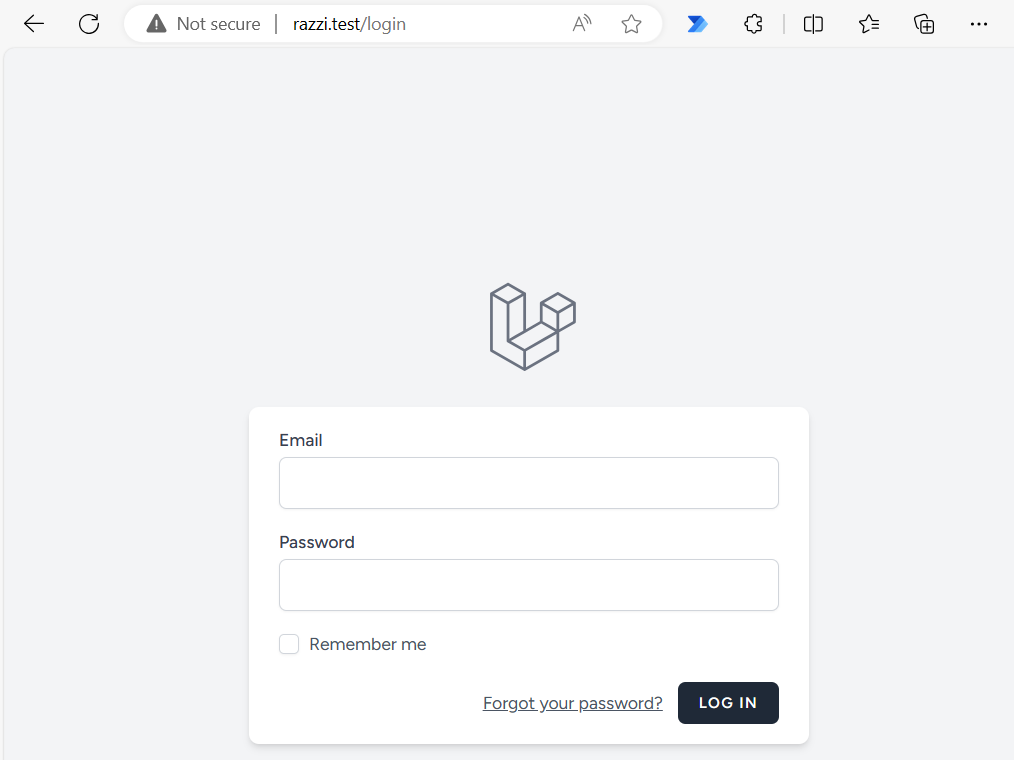
Login page:
[4] Implement Must Verify Email feature
[4.1] Activate
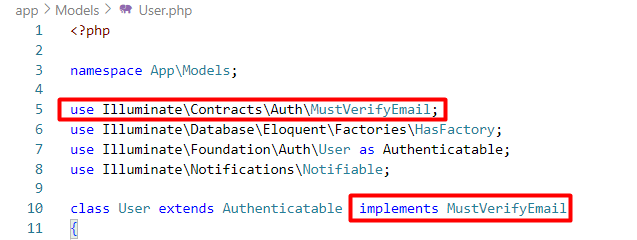
Activate the "use" statement for MustVerifyEmail and implements MustVerifyEmail features:
use Illuminate\Contracts\Auth\MustVerifyEmail;
class User extends Authenticatable implements MustVerifyEmail
Edit File C:\laragon\www\laraclub\app\Models\User.php :
[4.2] Test Login/Register
Warning: before testing, make sure that …
You have entered details for mail configuration.
Edit File: C:\laragon\www\laraclub\.env :
MAIL_MAILER=smtp
MAIL_HOST=mail.abcdef.my
MAIL_PORT=465
MAIL_USERNAME=abc@def.my
MAIL_PASSWORD=abcd1234
MAIL_ENCRYPTION=null
MAIL_FROM_ADDRESS="admin@abcdef.my"
MAIL_FROM_NAME="${APP_NAME}"
Browse the welcome page, register, and then login.
register:
Outcome:
Check mailbox:
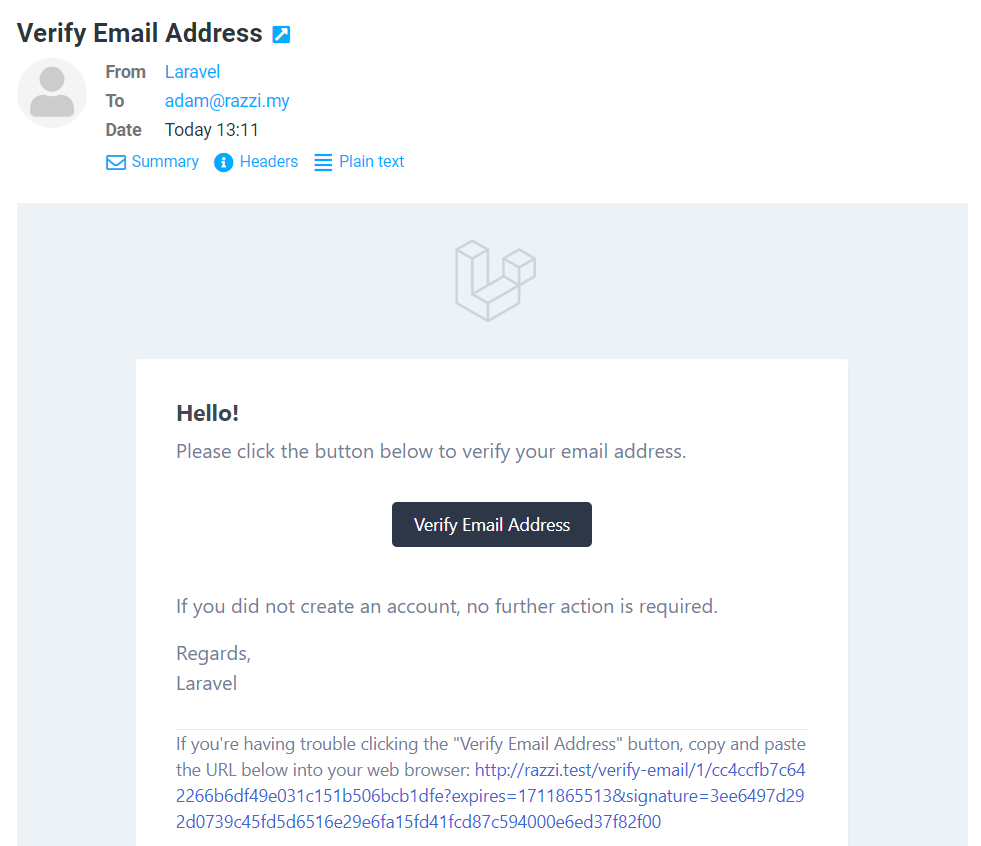
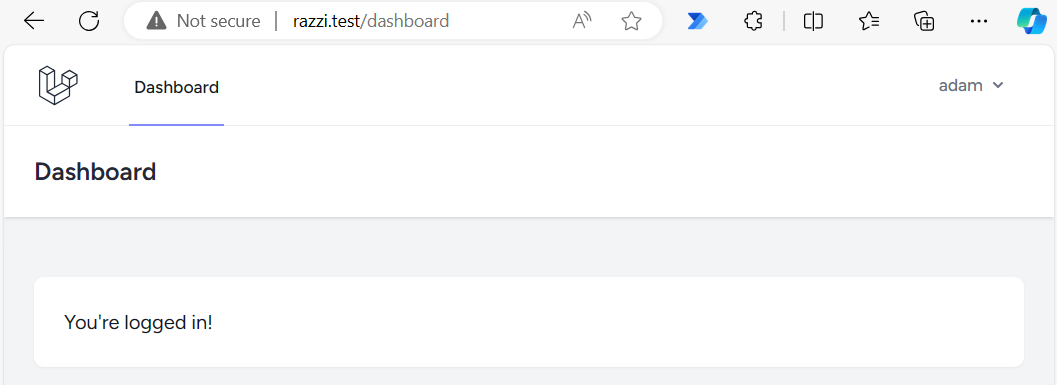
Click the link, and you shall be forwarded to the dashboard:
Check at the database server:

Notice that the email_verified_at field contains the date that the user clicked the verification link.
Download example:
https://archive.org/download/laravelprojects/razzi_20240331_laravel10_breeze.zip